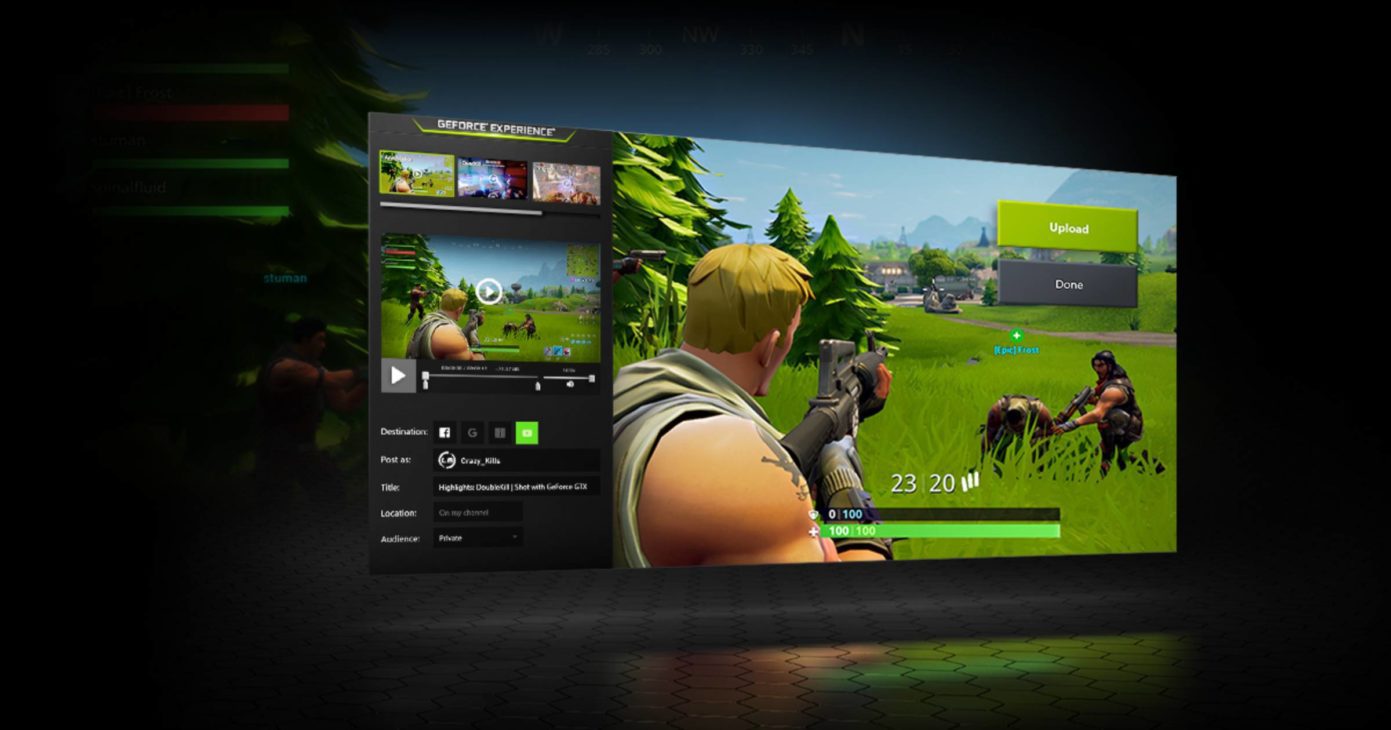
Sharing your gameplay is a huge part of gaming. After all, what’s the point in splashing out on the best streaming webcam, gaming rig and supporting peripherals if you’re not willing to show off those clutch moments – even if it is just to your friends!
As such, you may be wondering how to record gameplay on PC that is smooth, high definition and super easy to control. Well, the good news is that there’s been thousands of gamers before you who have already worked out the best ways to record game clips on PC and we’re here to break these down for you into nice easy steps.
Whether you are playing a PC game or you are capturing footage from an external source such as your Xbox console, here’s everything you need to know as a beginner on how to record game footage on PC.
Scroll down to read the full guide or skip sections below:
- Software & Tools
- Setting Up Software
- Optimal Settings
- Commentary & Audio
- Publishing Footage
- Sharing Footage
What do you need to record gameplay?
The easiest way to record gameplay footage is for PC gamers.
For console gamers, there are a few extra steps but we’ll get to those in a moment. If you are playing video games on your PC and want to record the gameplay, then all you really need in addition to your peripherals is a quality screen recording software.
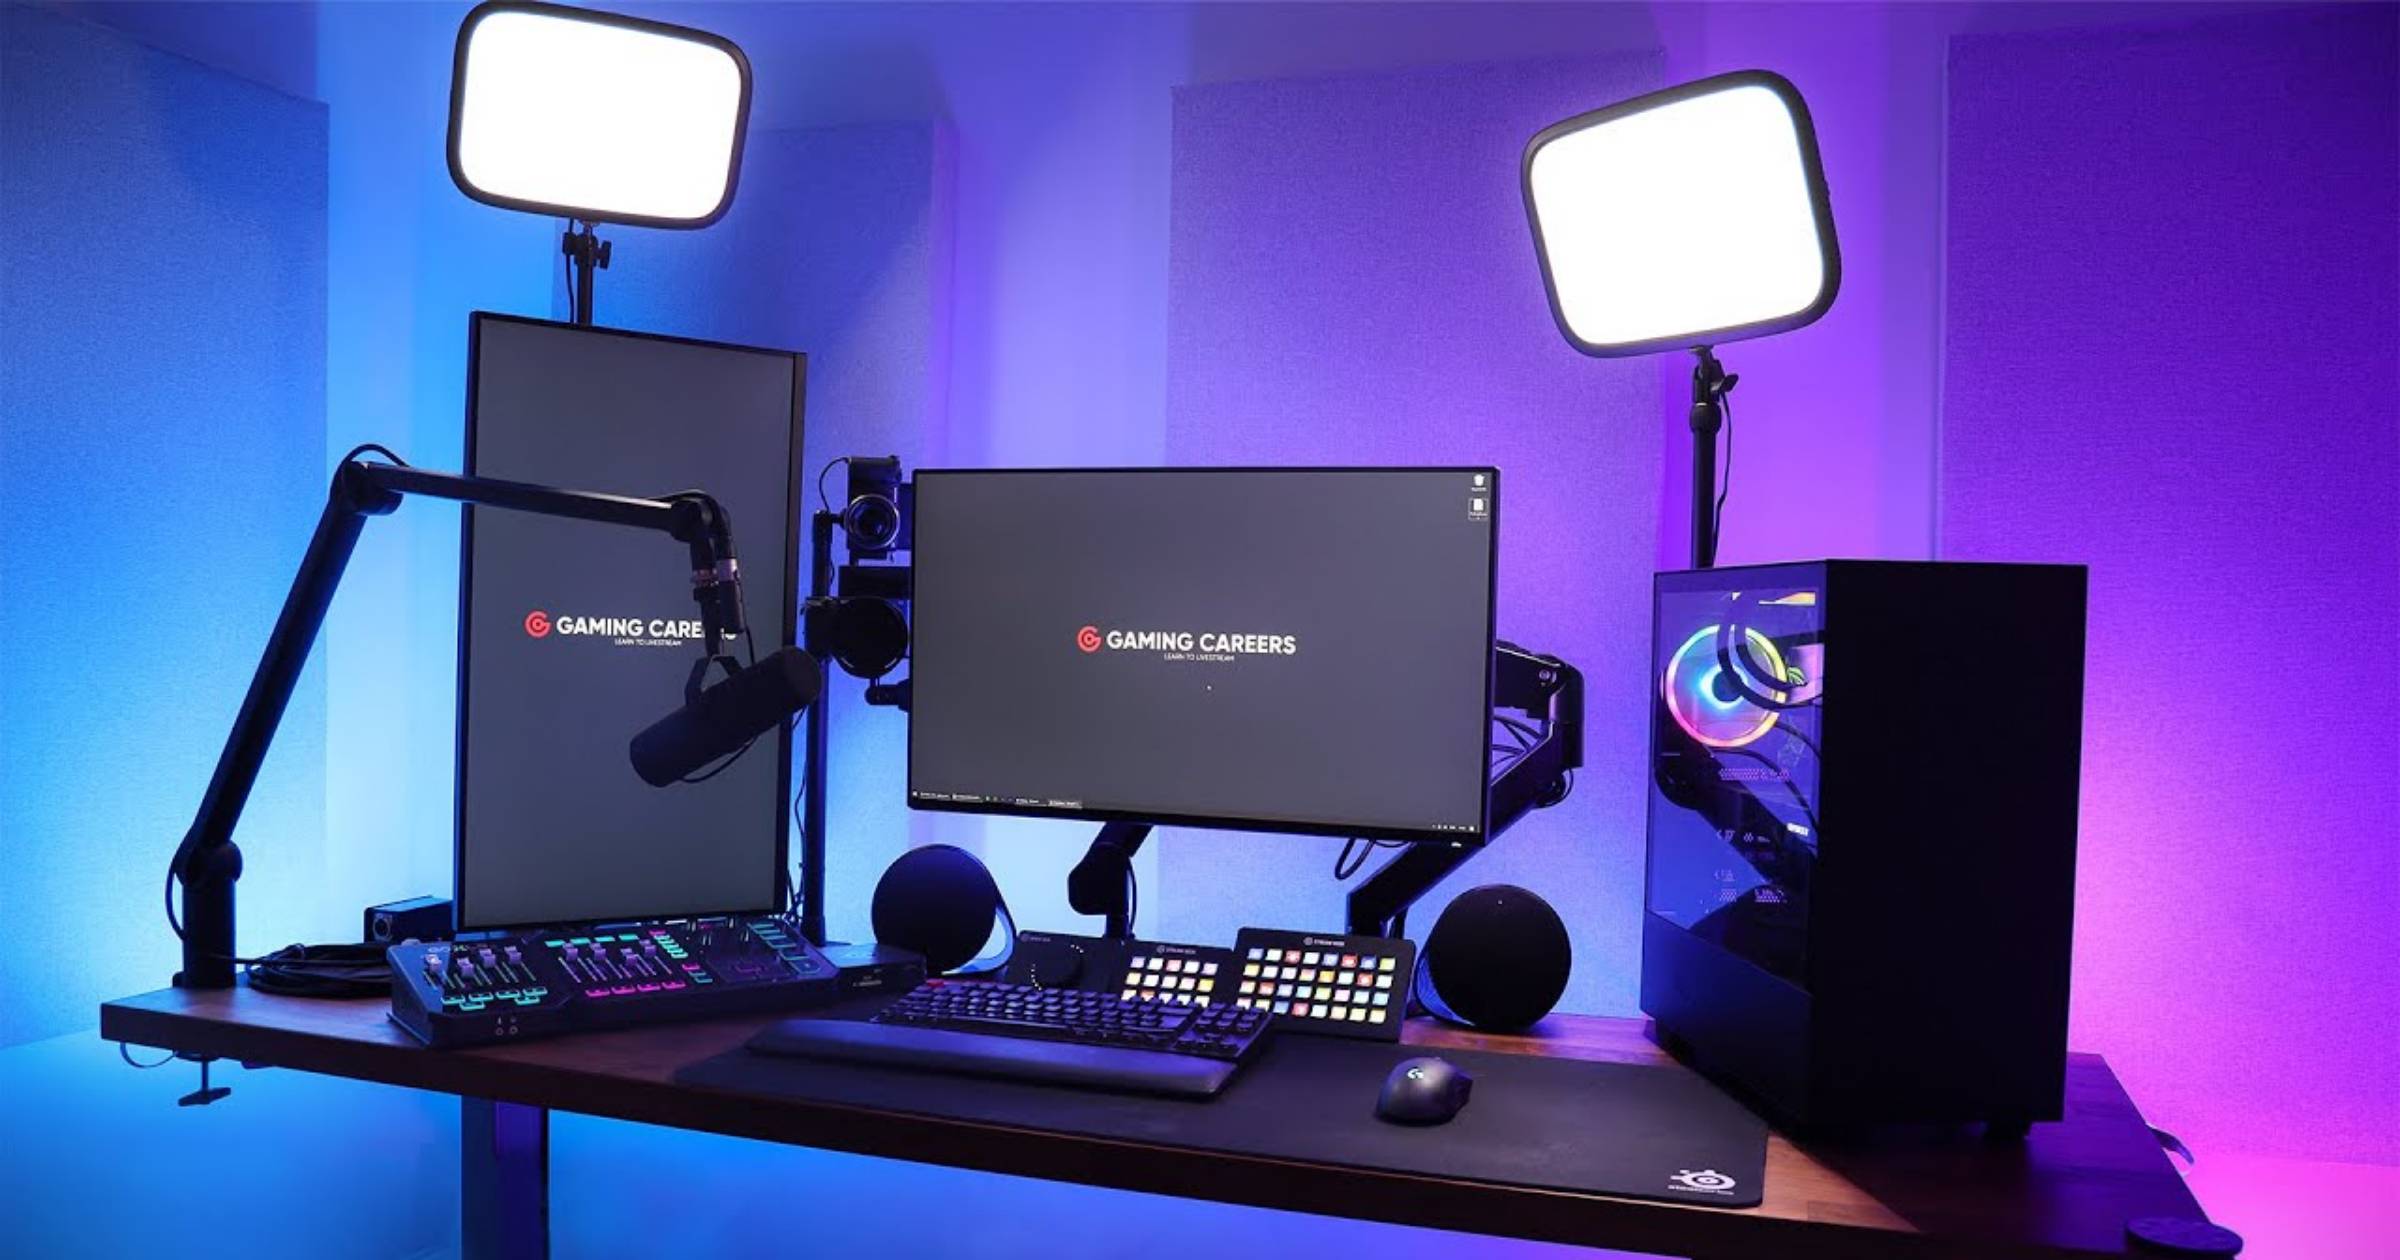
To record gameplay on PC, you will need the following additional tools:
- Screen recording and editing software.
- A webcam that’s ideal for streaming.
- A pair of gaming headphones.
- A decent microphone to record audio.
Theoretically, you actually don’t need a webcam, headphones or a microphone to record gameplay footage on PC. However, the quality of your recording is only amplified when watchers can see your reactions, hear your voice and also the game sound.
For Xbox and Playstation gamers, there is also the option to broadcast and capture streams directly with online tools such as OneCast. However, none of these are perfect options. It is usually best to use a capture card, as this can connect directly with the motherboard and free up a lot of the CPU load your computer might otherwise experience. This results with less freezing and glitching out.
A capture card can be installed internally, and they are often very fast, but if you have a dedicated gaming laptop then your option is going to be an external capture card. They’re more portable and have a lot of different options, with many allowing you to plug in a gaming microphone to commentate along with your game.
To record gameplay on Xbox and Playstation, you will need the following:
- A fairly powerful desktop computer or laptop.
- Screen recording and editing software.
- An internal or external capture card such as Elgato.
- A webcam that’s ideal for streaming.
- A pair of gaming headphones.
- A decent microphone to record audio.
Again, the latter items are not an absolute necessity but we would definitely recommend them to enhance the experience for your watchers.
How to setup recording software
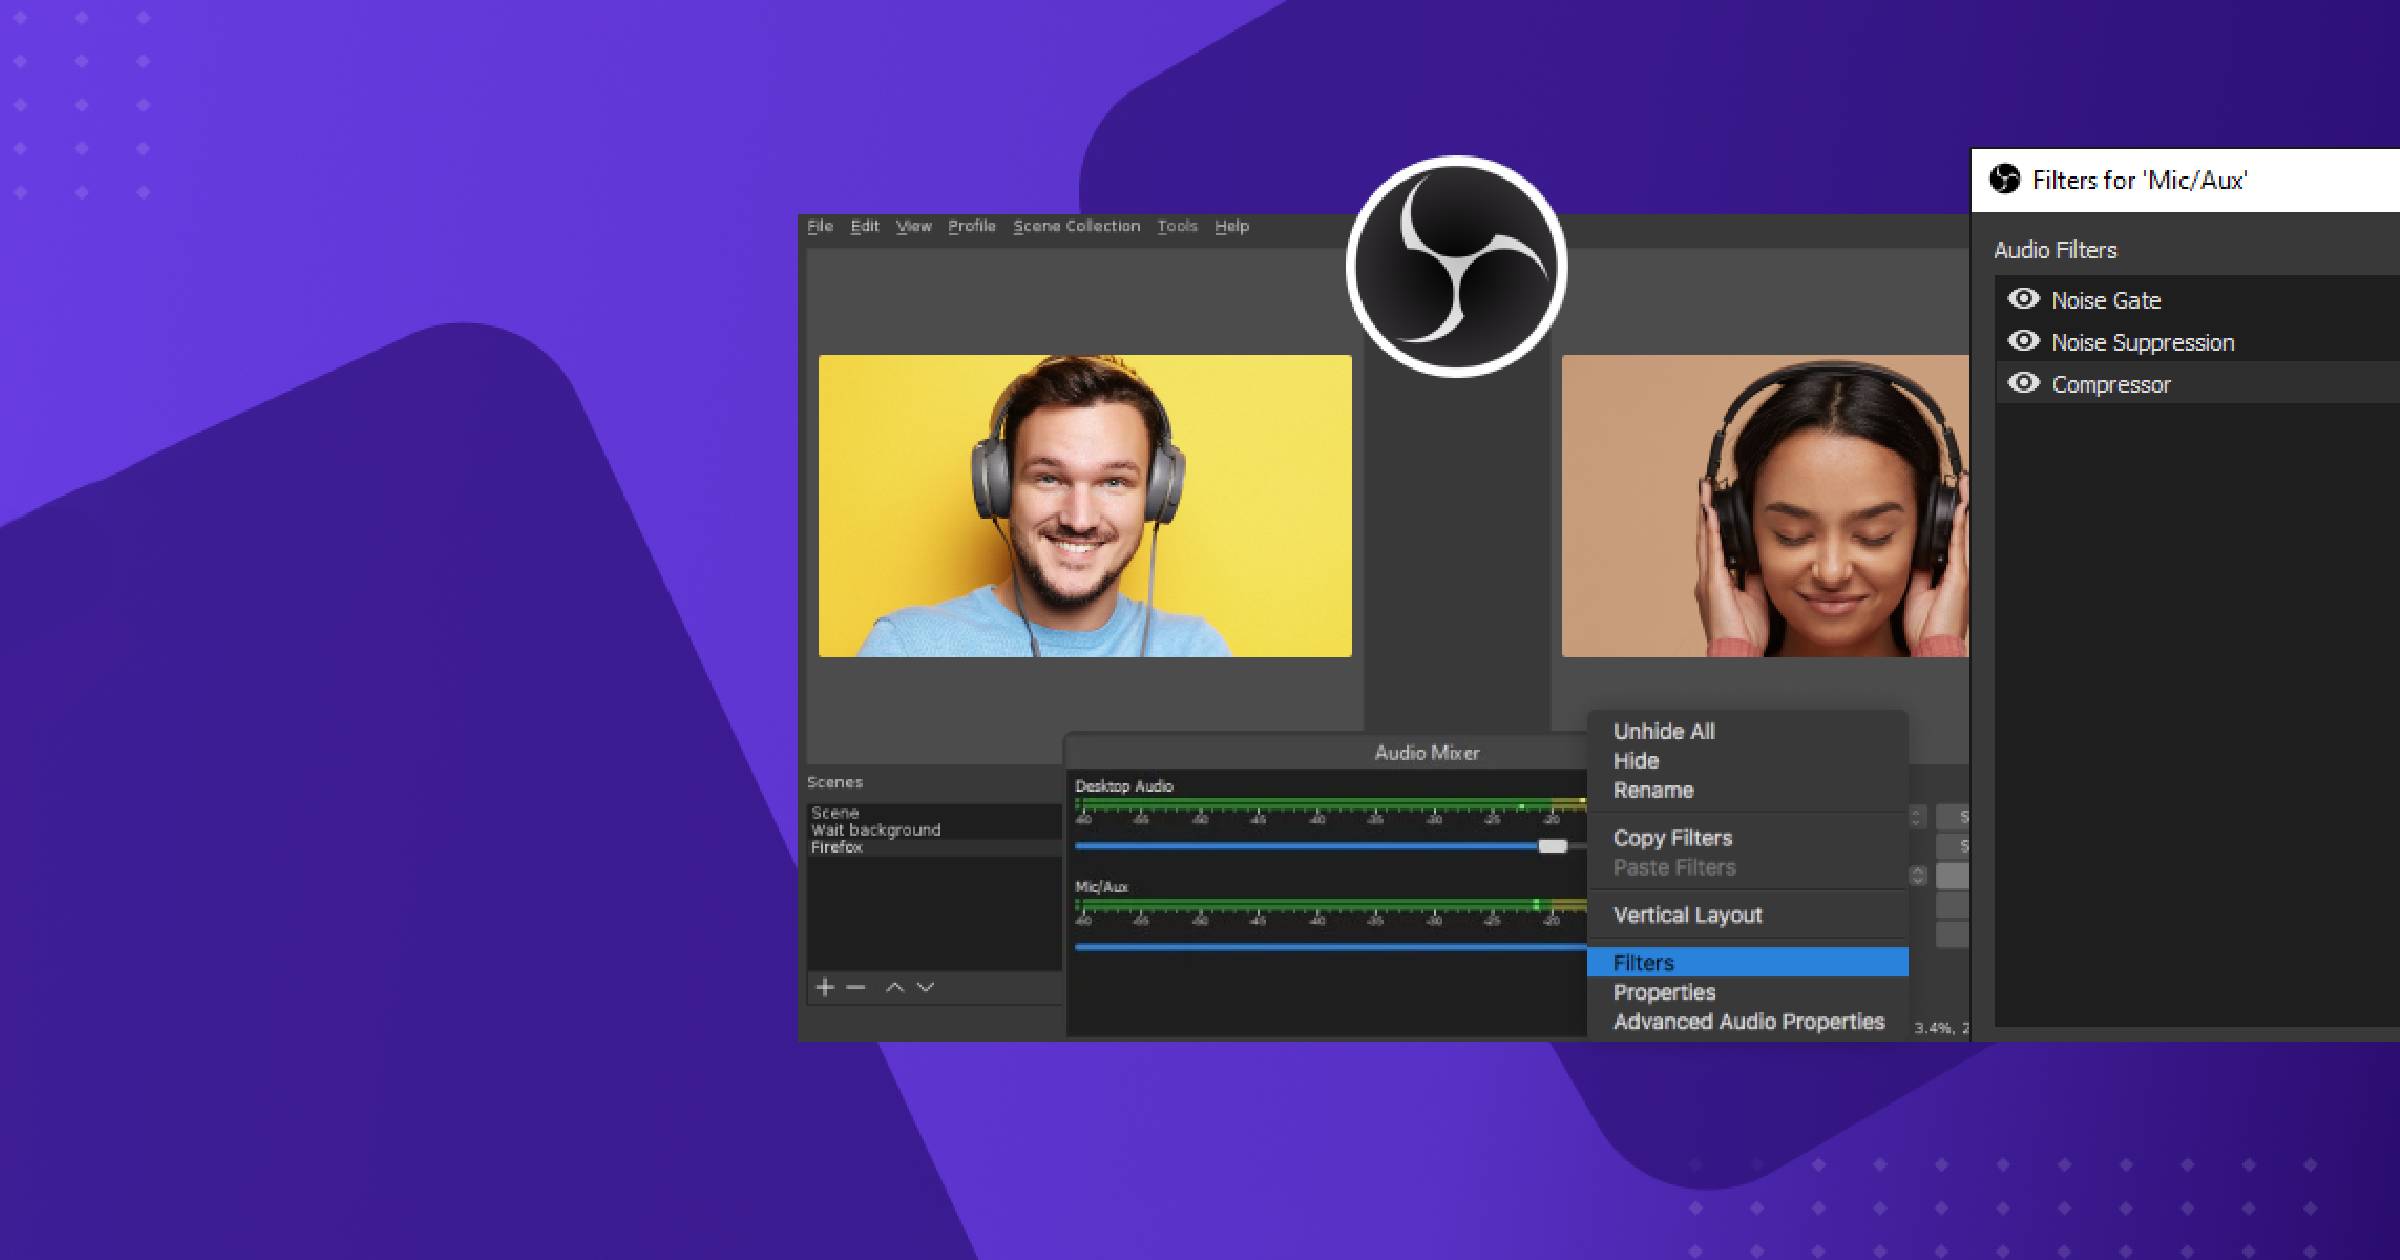
Regardless of whether you are recording game clips on PC or console, software such as OBS can be used to capture the video footage.
While there are many other options also, we like OBS as it’s highly popular amongst the streaming community and is good for capturing from multiple sources. It also has the major benefit of being free and available with an open-source licence and plenty of support from your fellow gamers!
Nothing like a good freebie, right!?
To ensure that any video recording software you use works properly, you will need to set the video source correctly within the software and be cautious to ensure that you are actually capturing all of the gameplay you want to.
If you’re using OBS, follow these steps to make a recording:
- Connect the source you wish to capture from.
- Open OBS.
- Click the plus button on the sources area of the screen.
- Select your video capture device by clicking the properties menu.
- Choose your device on the first dropdown that comes up.
- Turn on the source, usually an external source such as an Xbox or PS5
- Click OK and save your Properties settings
You are now ready to hit Start Recording, and when the gameplay recording completes you can hit Stop, before saving the file wherever you wish on your computer.
If you are recording a game on your computer, use the “Sources” area and properties to select a specific game window on your computer. This will instruct OBS to capture from that window, usually the interface of the game you want to capture.
Optimal settings for the best recording quality
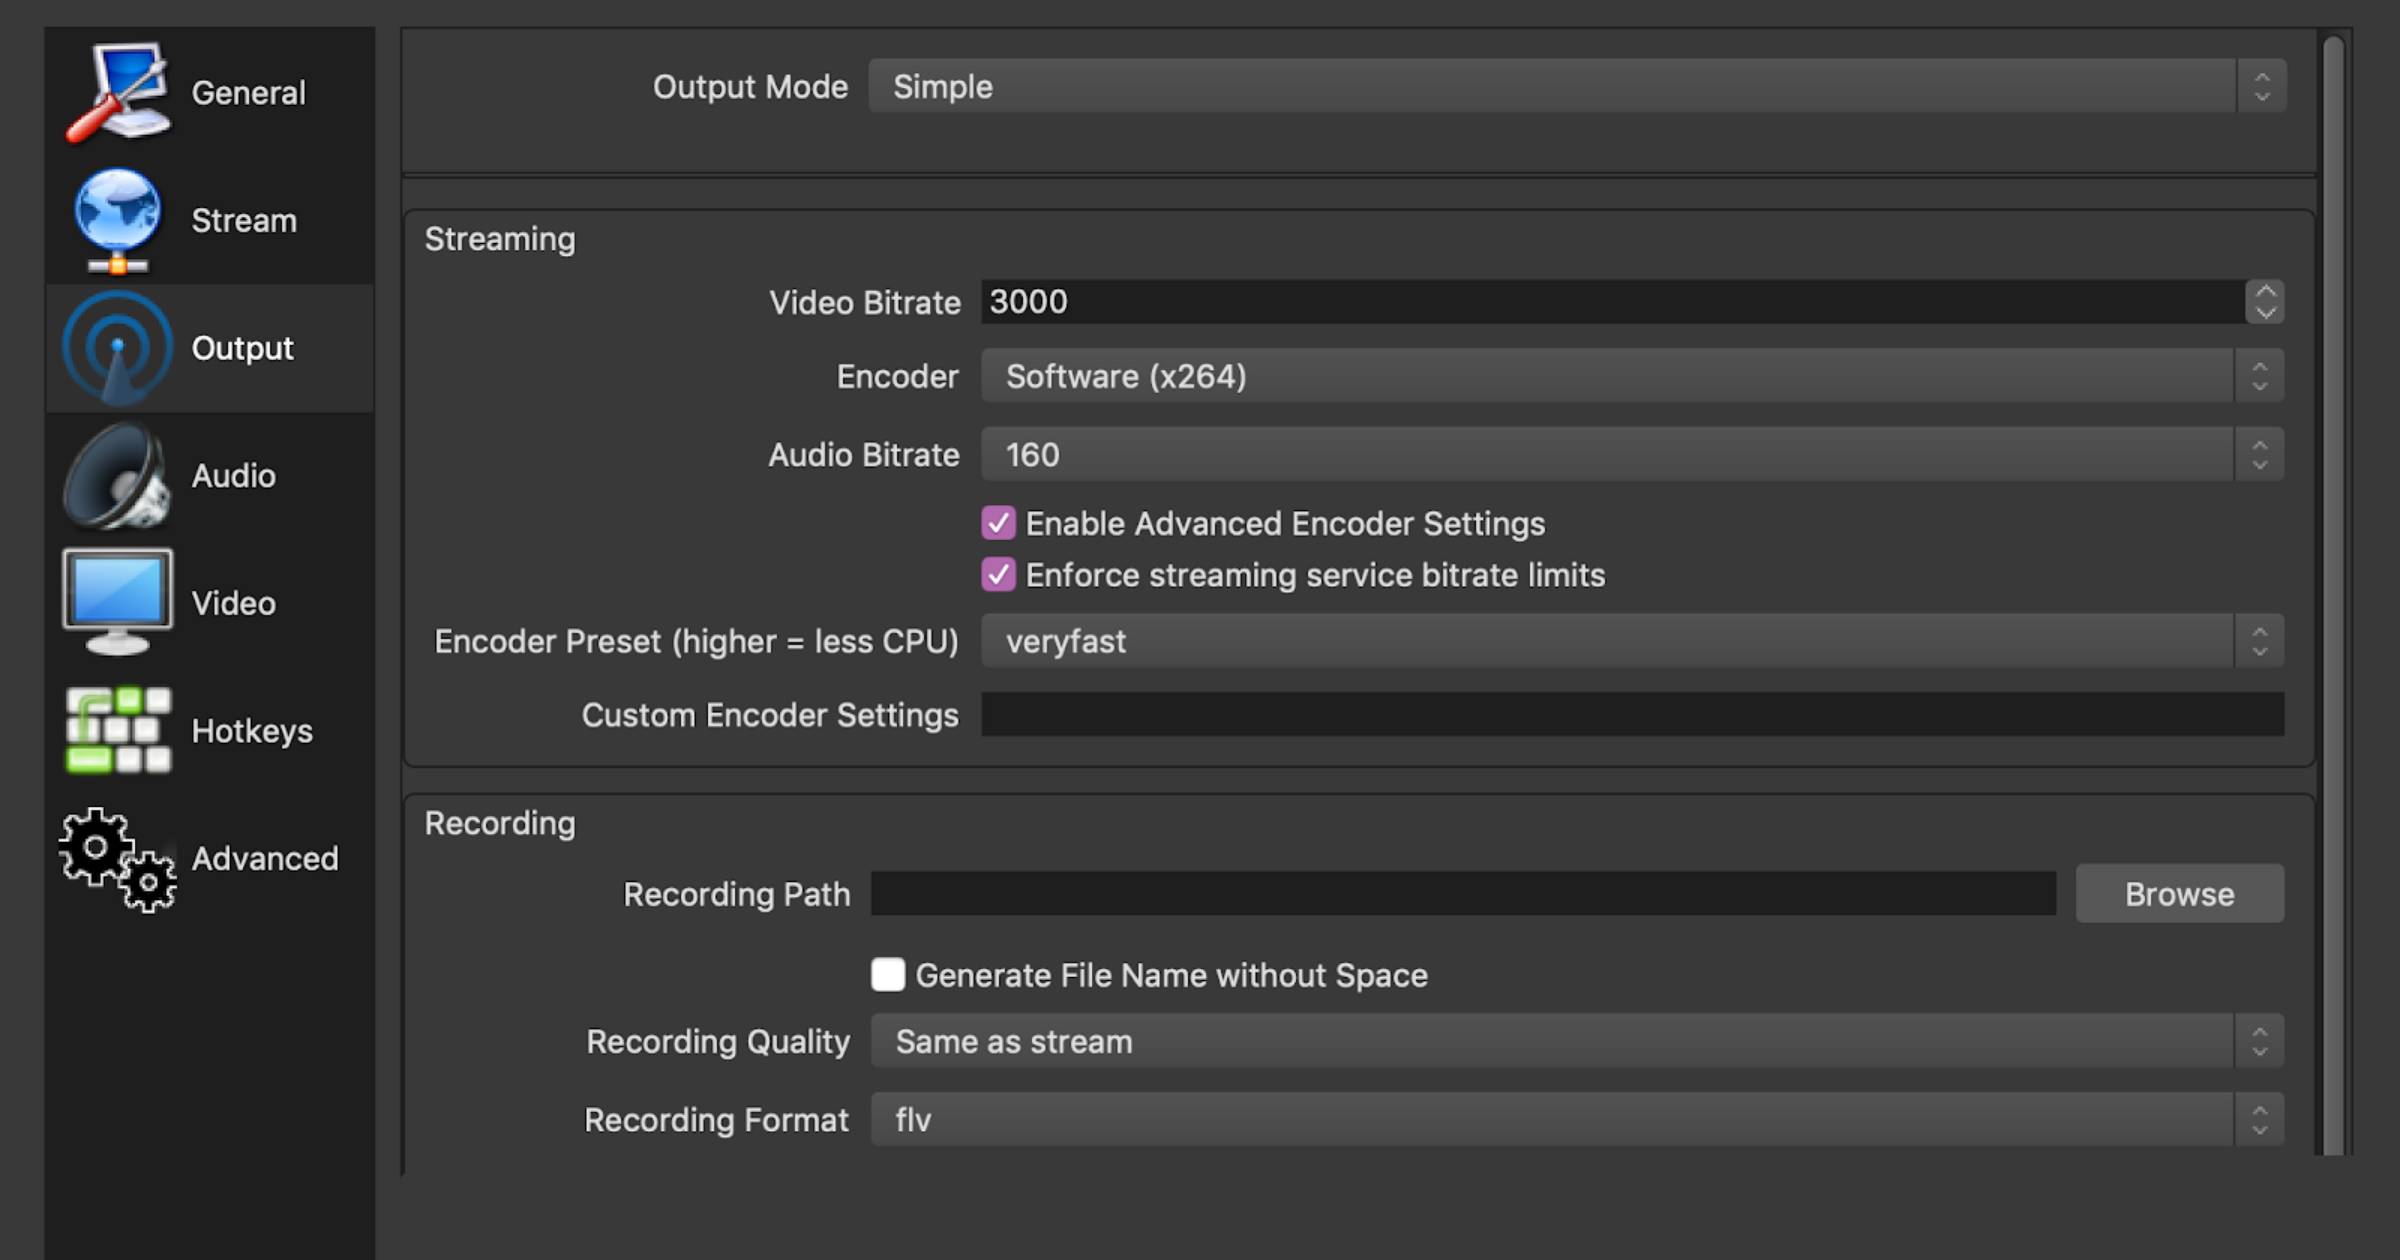
The settings for capturing high quality game footage can be a little bit confusing if you aren’t used to video settings. Of course, the resolution is one of the key things to consider, and this can be limited by the gameplay itself. There’s no point in trying to capture from an Xbox 360 in 4K HD.
Here’s 3 key settings to consider when recording high quality footage:
1. Frame Rate
Frame rate is all about how many different frames are being recorded every second throughout the gameplay. It is explained in more detail here with advice on what to choose. 24 FPS is a decent benchmark and has been used by cinema for many decades now. Modern devices and PC gamers can capture in 60 or even 144 FPS, but there is an argument that this is superfluous. There’s always a trade-off between getting the best, smooth gameplay and not overloading your capture card or computer.
2. Resolution
1080p has become something of a standard these days, and while some really powerful computers might be able to record at 4K, you may struggle with that resolution. 1080p is still high definition.
It’s worth experimenting with what sort of level both your computer and your capture card (if you are using one) can handle. The best settings for gameplay recording need to be the settings that actually work on your device.
3. Bitrate
The target bitrate of your video recording settings will have an impact on the colour and how it looks, setting the bitrate high can improve the quality but once again adds load to your processor.
Around 8-12 Mbps is a suitable bitrate for most of our needs when it comes to recording gameplay. This is the recommended setting for YouTube videos at 1080p, but if you have a very high spec computer it may handle a higher bitrate and therefore provide even better quality. Higher bitrate and higher definition go hand in hand.
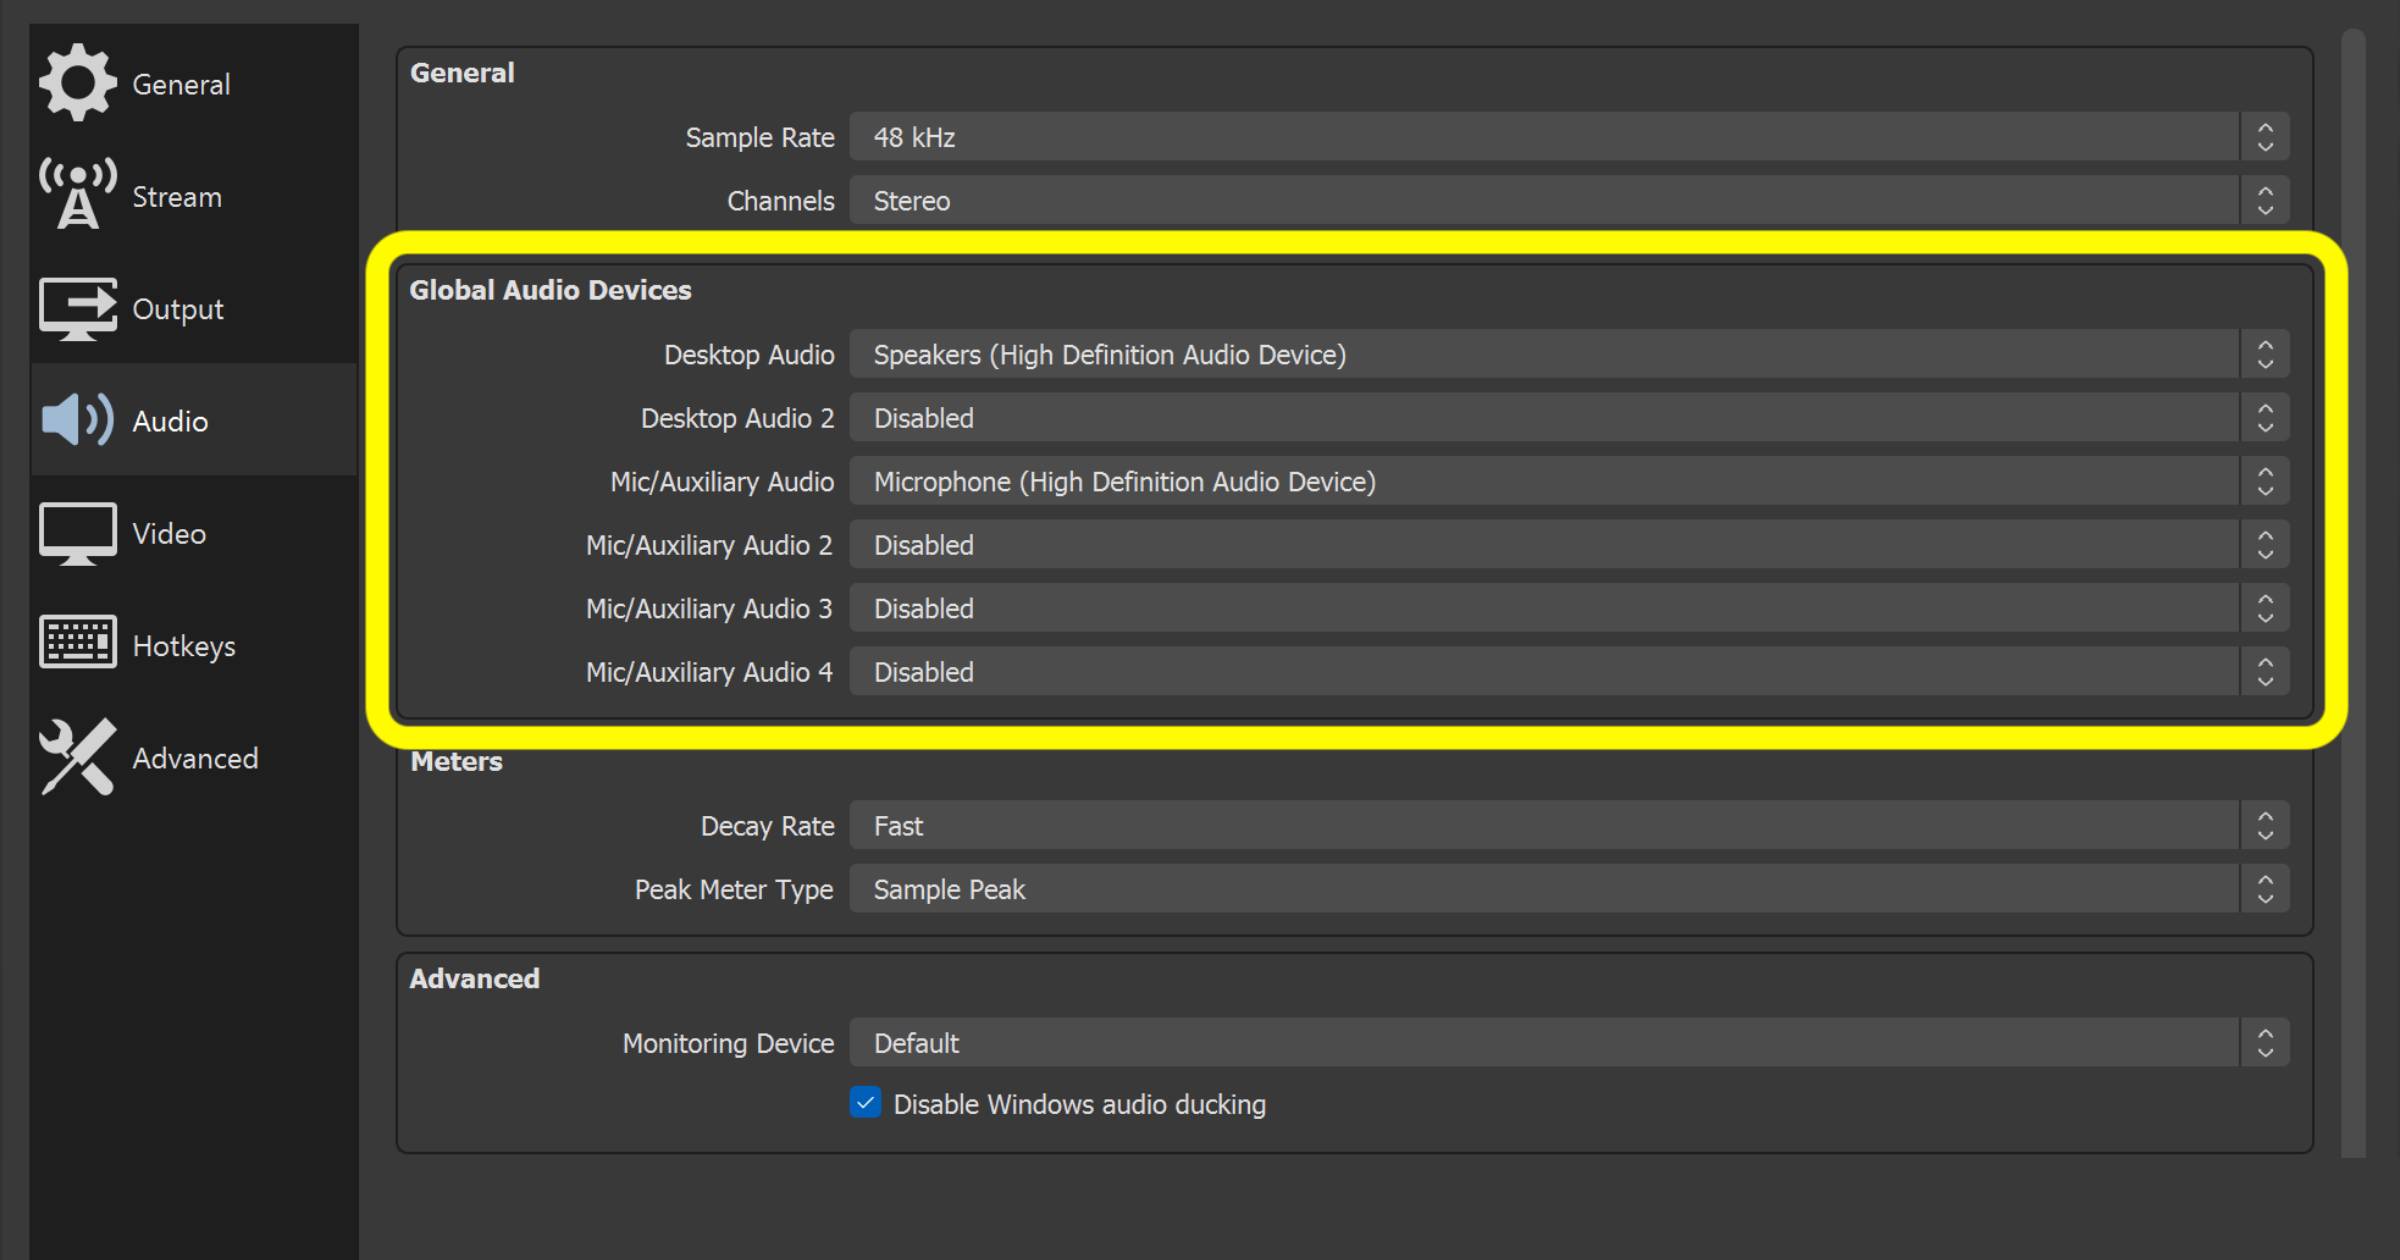
Adding commentary and audio to game clips
Now that you’ve got some awesome footage of your clutch moments recording, the next step is to elevate your video by adding commentary, sound bites and anything that you can think off to increase the level of entertainment.
A video editor is the perfect way to make changes to your video and add sound effects, other tracks, or even further commentary. If you can get your hands on a no watermark video editor, this is the most professional option, as it won’t leave a mark on your YouTube video when you’ve edited and exported it like other video editing software.
Depending on which software you are using, adding commentary and audio to your footage may be as simple as clicking and dragging the audio you want into the timeline editor on this software. Many different types of video editor are available, so they all have their own settings, and some even have specific inbuilt stock audio that you can play around with.
Most video editors also have a setting that allows you to make a recording, overdubbing your voice onto the video, so once you have edited it you can add a script or other commentary if you want to.
Publishing gameplay footage on PC
Time to publish your recordings online? YouTube is the option that the vast majority of people go for, it is a great place to build your community of followers and get a huge number of views (if you build your channel to be a success).
When publishing your recordings, an MP4 file is widely accepted. Export the file from the software you have used for editing the video, using a high-quality preset for compression, and you will retain the quality of the video during upload.
If you are stuck for encoding settings, then these settings from Google’s support will help you to establish exactly what is required to get the desired end result and a professional looking video. Once published, it is up to you to start to get viewers and gain a reputation as a gaming YouTuber.
Sharing gameplay footage on PC
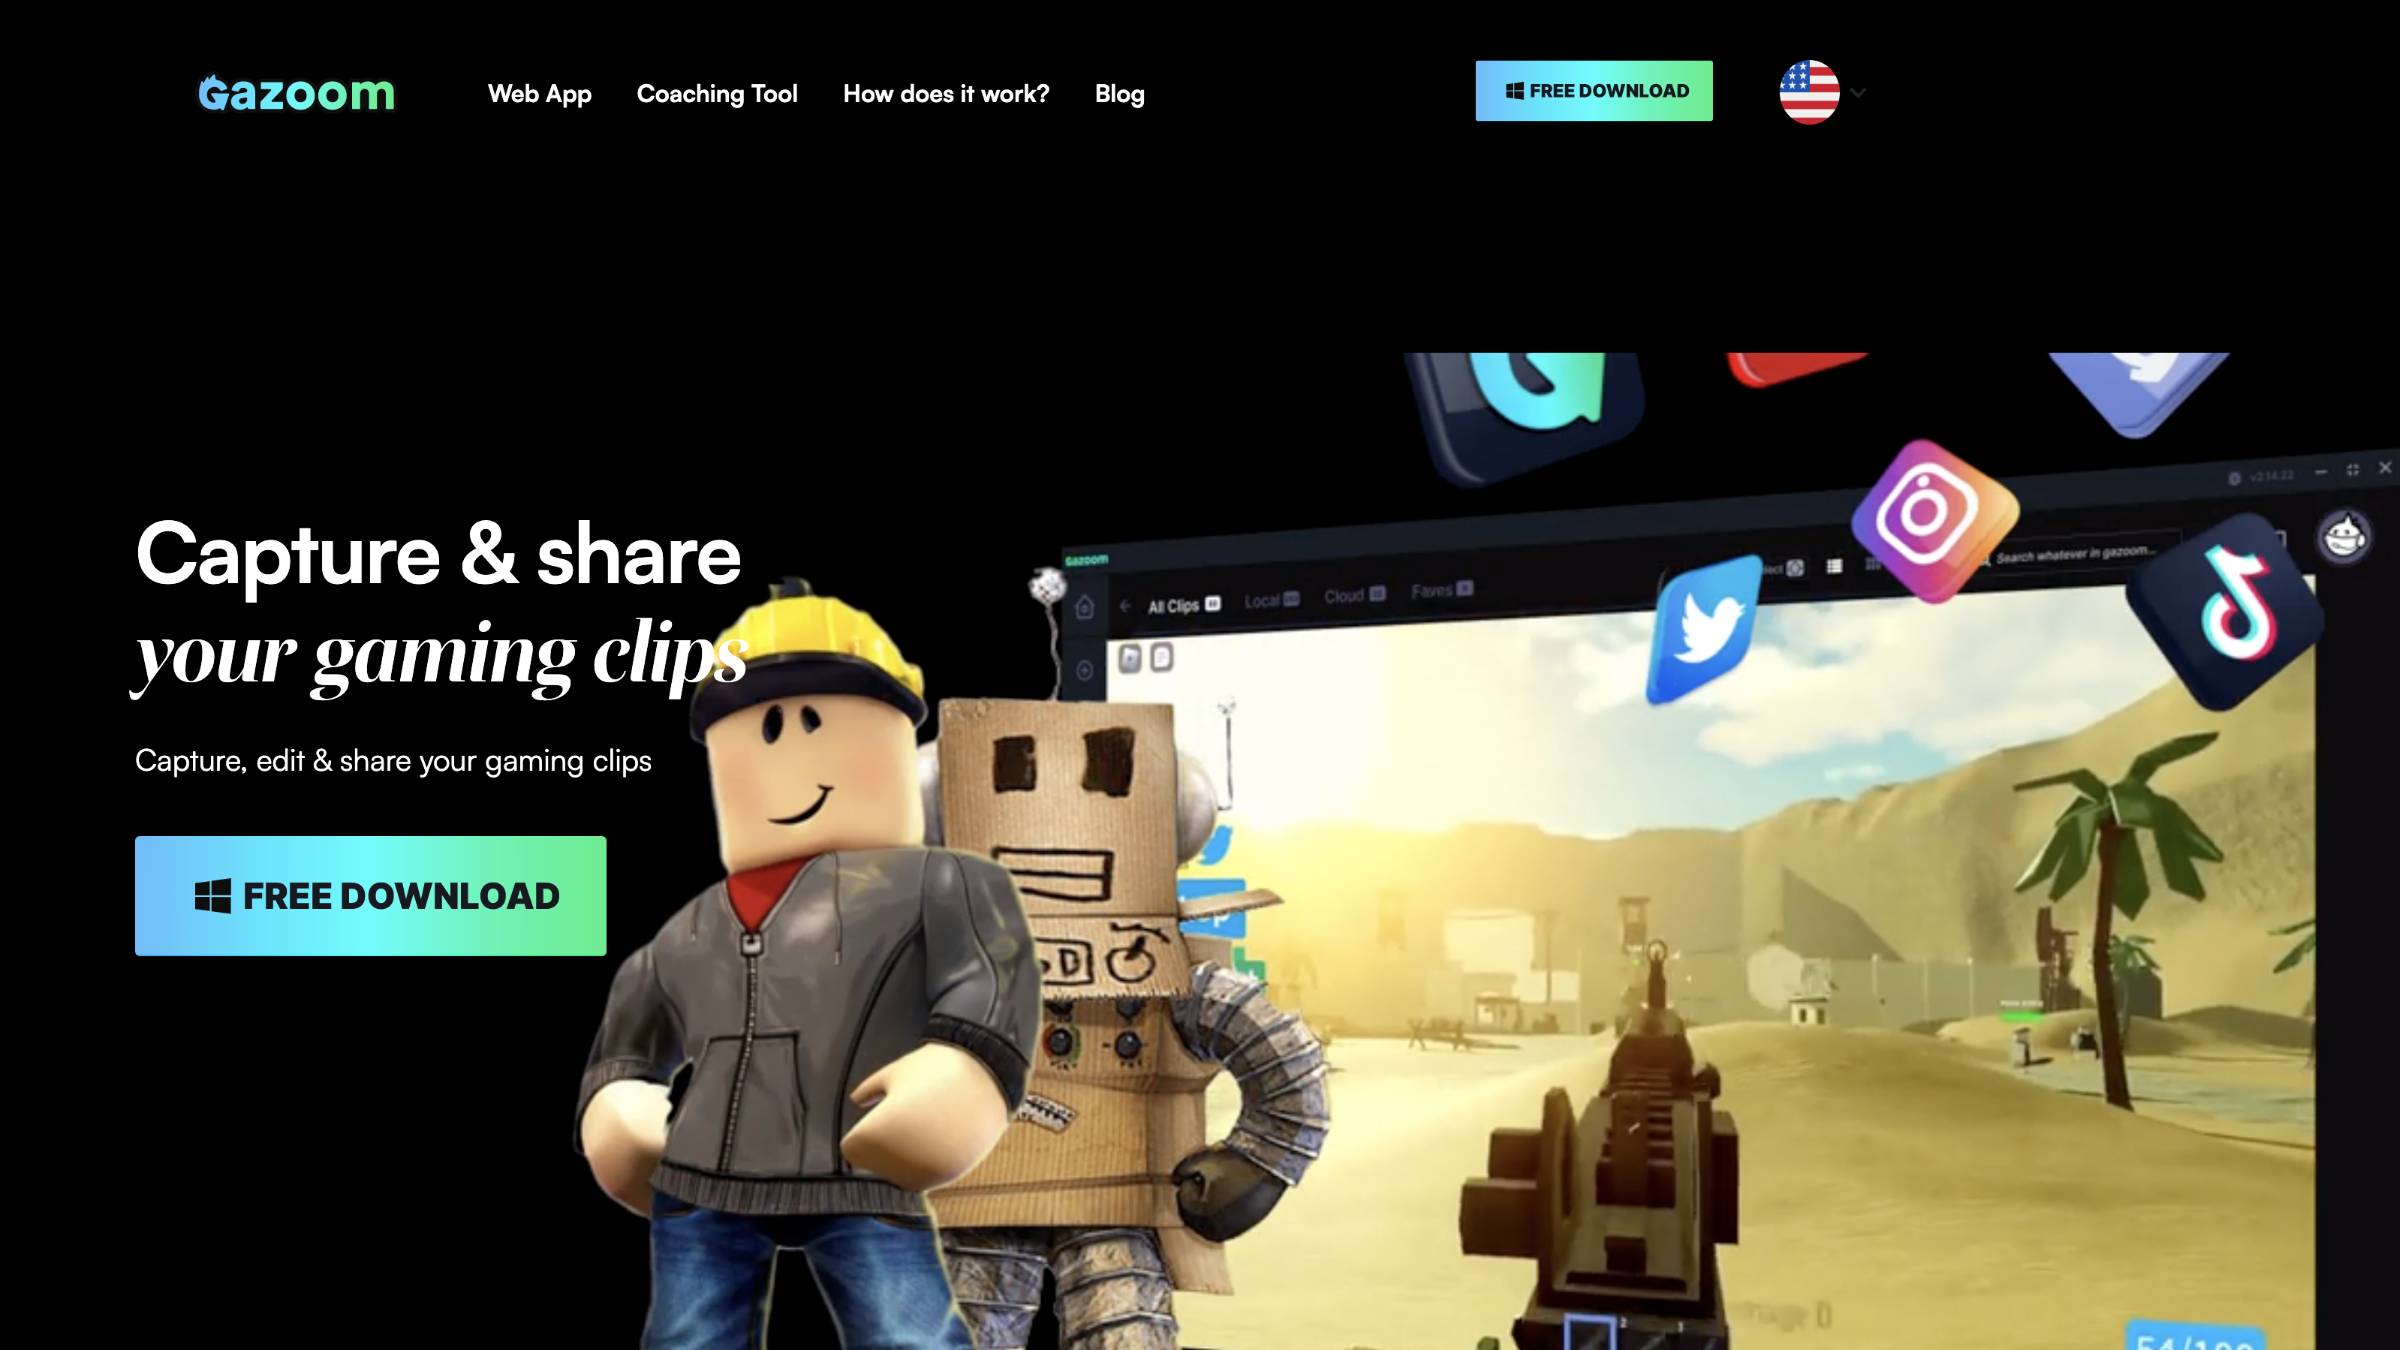
If you’re looking at sharing across multiple platforms and not just YouTube, you’ll quickly find out that managing your social profiles is a somewhat arduous task. Thankfully, tools like Gazoom allow you to capture your footage in the first place and provide an entire ecosystem geared up for rapid sharing with your friends.
Just link up your favourite games like Fortnite and Gazoom will automatically record all of the highlights for as long as two minutes. While two minutes might not sound like a lot, the most successful social profiles deliver short-fire bursts of insane clips. So, you can have your Twitch Stream for the entire session and Gazoom for your highlight reels.
Not only this, but as screen recording software for games evolves, programs like Gazoom will also provide a gameplay review and coaching tool that allows you to review your clips with your squad or coach to dissect where you went wrong! Now, that’s pretty impressive!
Did you enjoy this tutorial? Check out some of our other tips, tricks and walkthroughs to level up your gameplay!
- SSD vs HDD Storage: Which Is Best?
- Is 512GB SSD Storage Enough For Gaming?
- How To Not Rage At Games
- Is Backseat Gaming Bad?
- Best Counter Strike Knife Skins
- Printing Game Covers: A Beginners Guide.
- How To Cool Down Your Laptop While Gaming
- A Beginners Guide To Gaming Chair Ergonomics
- ASUS Rog Gladius III Wireless AimPoint Review
- Wired Vs Wireless Keyboard: Which Is Best?
- Is A Wired Mouse Better For Gaming?
Content Disclaimer: This guide on how to record gameplay on your pc has been independently written. GamePro has not been commissioned by any software providers mentioned throughout this article, nor have we received content royalties. This includes financial payment, free advertising or recording software by way of gift.
Should you click on any link to a third party website and make a purchase, we may receive a small commission. But that’s just how we keep this website alive! If you have any questions about recording game clips on PC, do not hesitate to hit the comments and we’ll be sure to respond back to you as soon as possible. Happy gaming!
